Front-end Development & Prototyping
Learn how I bridge the gaps between product, design, and engineering teams.

Should designers learn to code?
Yes! Thanks for reading.
const skills = [
  "storytelling",
  "design",
  "illustration",
  "motion graphics",
  "code",
];

if (skills.includes("code")) {
  // Todo: Create Function
  console.log("Let's go!");
}
Okay, but seriously — the ability to cross the boundary between design and development is one of the most valuable things I’ve built over my career. Not because I want to be a full-stack engineer (I don’t; I’ve met full-stack engineers and they have my respect and my sympathy), but because being able to participate in engineering conversations makes me a better designer and a better teammate.
I know enough to ask the right questions. I know enough to prototype my own ideas instead of waiting. I know enough to understand when something is genuinely hard versus when someone just doesn’t want to do it. That last one is more useful than it sounds.
Over the years I’ve picked up a lot: HTML, CSS, Javascript, Ruby, Python, PHP, C#, ClojureScript, Webpack, Vite, React, Vue, Angular, Style Dictionary, Tailwind, and plenty of others I’ve since mostly forgotten. The point was never to master all of them — the point was to stay curious and keep the door open.
Developing imagination
My current go-to for prototyping is React + Vite + Tailwind. It’s a fast setup, the output is real code (not a prototype that has to be thrown away), and it’s flexible enough to grow into something production-worthy if the idea earns it. I dig deeper on this in my components post.
If you want a head start, I made a starter: react-vite-template.
A quick overview
When I built this template, I had a few specific requirements:
- React/Typescript as the language of choice
- Simple customization — no configuration rabbit holes
- Fast to spin up, fast to prototype in
- Deployable, destroyable, and password-protectable (for sharing work-in-progress without it being fully public)
What’s in it?
- Typescript
- Vite
- CSS Modules
- Phosphor React
- Tailwind 4
- AO Design Tokens
- Ant Design 5
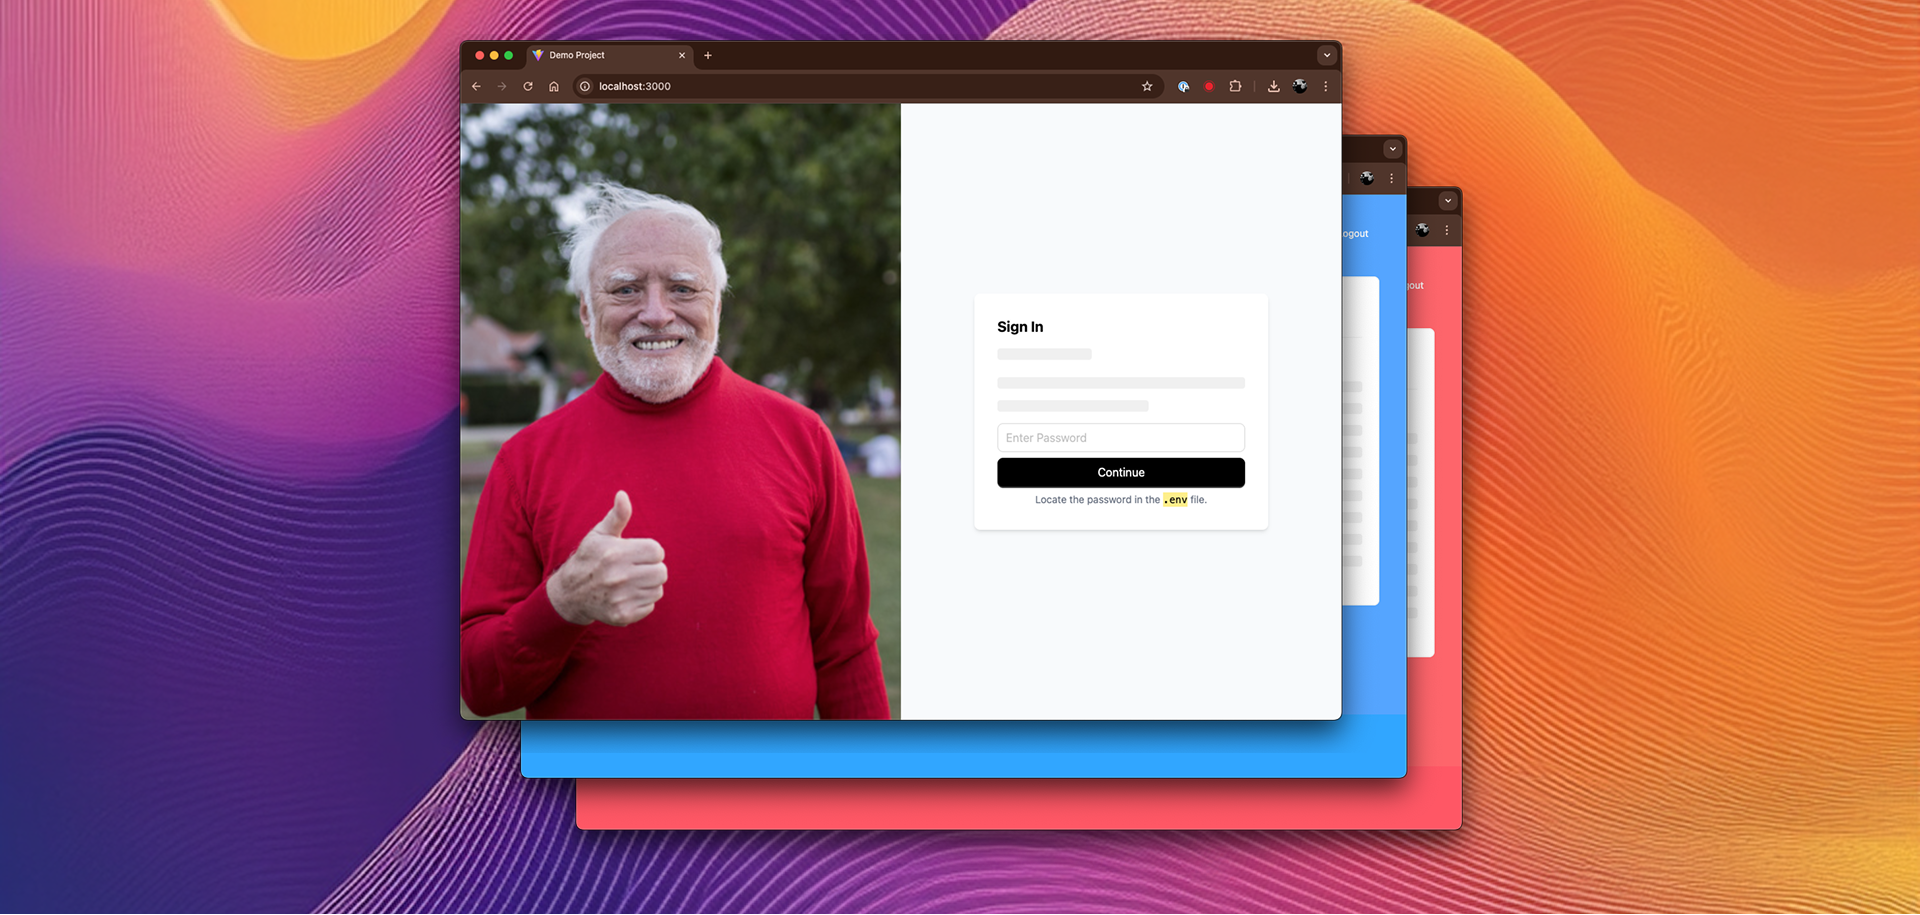
The password protection piece was handled with a custom AuthenticationWrapper component — nothing fancy, just session storage and a clean login screen. Good enough for prototype sharing, not good enough for anything important.
const AuthenticationWrapper = (props: any) => {
  const [isAuthenticated, setIsAuthenticated] = React.useState(false);
  const [inputPassword, setInputPassword] = React.useState("");

  useEffect(() => {
    const storedAuth = sessionStorage.getItem(SESSION_KEY);
    if (storedAuth === password) {
      setIsAuthenticated(true);
    }
  }, []);

  const handleSubmit = (e: any) => {
    // handle login
  };

  // Continue if authenticated or login
  if (isAuthenticated) {
    return <AppProvider>{props.children}</AppProvider>;
  } else {
    return (
      <Login
        loginCallback={handleSubmit}
        setInputPassword={setInputPassword}
        inputPassword={inputPassword}
      />
    );
  }
};
Global state lives in a React context — clean, composable, and easy to extend as the prototype grows:
// AppContext.tsx
export const AppProvider = ({ children }: { children: React.ReactNode }) => {
  const [count, setCount] = useState(0);

  const incrementCount = () => {
    setCount((prevCount) => prevCount + 1);
  };

  const value = useMemo(() => ({ count, incrementCount }), [count]);

  return <AppContext.Provider value={value}>{children}</AppContext.Provider>;
};

// App.tsx
import { useContext, useEffect } from "react";
import { AppProvider, AppContext } from "./AppContext";

const Action = ({ count, incrementCount }: any) => {
  return (
    <div className="flex gap-4 items-center">
      <Button
        size="large"
        type="primary"
        onClick={() => {
          incrementCount();
          console.log({ count });
        }}
      >
        Increment Count
      </Button>
      <code>{JSON.stringify({ count })}</code>
    </div>
  );
};
For deployment, Vercel has been rock solid. Push to main, it deploys. That’s the entire workflow. If you want to dig in, the react-vite-template is all there on GitHub.